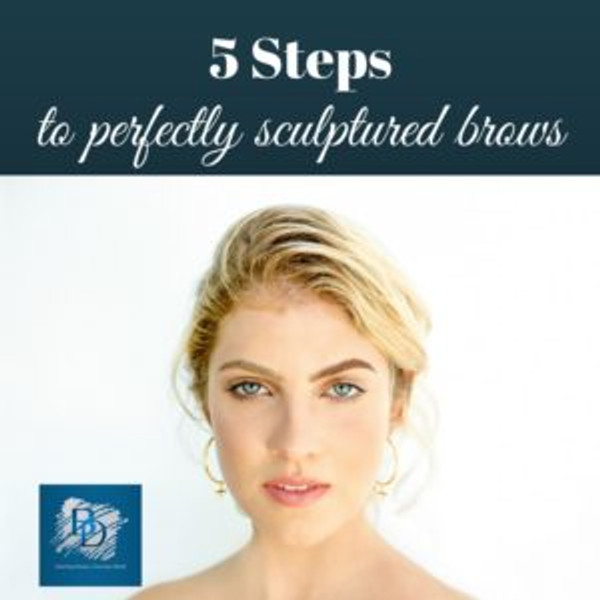
5 Steps to Perfectly Sculptured Brows
Posted by BeauDazzled on 24th May 2017
Perfectly sculptured brows have become all the rage for makeup addicts. Here are our five, simple steps to achieving that perfect, sculptured brow.
Step 1. Trim and Shape
There are several methods of shaping and trimming excess hair from the brow. Paula Begoun, The Cosmetics Cop, explains that tweezers are generally best when removing tiny, stray hairs but waxing might be preferable for larger areas. Red and grey hair tend to be wavy and can often be difficult to tame. If this is the case, trim excess hair and brush using a spooly brush or brow brush dipped in brow gel. This should encourage those hairs to lay flat.
Step 2. Colour
When choosing a brow pencil or gel colour, aim to compliment the eyes and match with your hair, or risk looking overly painted on. Getting the colour right is perhaps the most difficult part.
For fairer complexions and blonde, strawberry blonde and lighter red hair, try Eye of Horus Cosmetics Brow Define Pencil in Husk, available in store. For a medium complexion, such as auburn red heads, darker blondes, and brunettes try our Brow Define Pencil in Dynasty. Dark brunettes can go as dark as our Brow Define Pencil in Nile.
As with the hair on your head, if you look carefully you will notice that you have different shades of colour throughout the brow. For a more natural look, apply a darker colour to the front and underside of the brow and a lighter colour to the ends. Pressed powder can be used to fill in gaps and define brows in natural shades. Lily Lolo comes in a convenient Brow Powder Duo, allowing you to match the brow from your lightest to darkest hair along with a natural wax for precision grooming to hold brows in place. Together this duo is perfect for creating immaculate brows.
Step 3. Layer
Kristie Streicher suggests to Elle Magazine that to achieve the perfect brow, start with a light coverage and build on it. It’s always easier to layer and add depth than to remove once the colour is too heavy. Be gentle when applying colour and blend as you go, by using short strokes. A fine, angled brush will allow for greater control.
Step 4. Finish
Once you are happy with the shape and colour achieved, add a little clear or slightly tinted brow gel. This will set the brow and give a textured look to the natural hairs, creating a more natural look overall. We love Senna’s Brow Fix X for a Clear Brow Gel and the Brow Fix X in Taupe for a hint of colour.
Step 5. Add definition
Sam and Nic Chapman, makeup artists behind Real Techniques and authors of Face, suggest that for extra definition and to really enhance the eye area, run concealer around the outer edge of the brow. Using a small shadow brush, apply concealer close to the brow. Choose a larger, fluffier brush to blend.

 Australian Owned | Cruelty-Free Beauty, Where We Lead, We Don't Just Follow


